How To Set Or Install Two Hard Drives On Single Laptop
In this article, I’m going to show you how to Set or Install Two Hard Drives on Single Laptop. This post is in the minority on internet web pages, and it is the best way to increase data space or install multiple operating systems such as; Windows, macOS Sierra, Kali Linux, Chrome OS, and CentOS.
How Can We Use Two Hard Drives?
This question may come to everybody’s mind for the first time. Applications, software, and tutorials’ size increasing day by day. These things need more data space. Sometimes, one hard disk is not enough for operating system itself and data storage. You might need the second hard drive. In this step by step guide, you will learn how to set or install two hard drives on a single laptop.
Note
To install two hard disks in a laptop so it must have CD/DVD Rom. It is only possible for those laptops which have CD or DVD ROM. If your notebook doesn’t have it, it’s not going to be work.
Requirements:
Before moving ahead, you need to get these things. These are the most important requirement that you must have them. Without an HDD Caddy, Hard drive, screwdriver it is not going to be done.
- An HDD Caddy
- A Hard Drive or an SSD
- and a screwdriver to open the laptop’s CD/DVD-ROM
HDD Caddy is the important one that you must have it because it’s the tool that makes this happen. You can find all the tools link in the description down below.
Install Two Hard Drives on Single Laptop
#1. Now unpack the HDD caddy
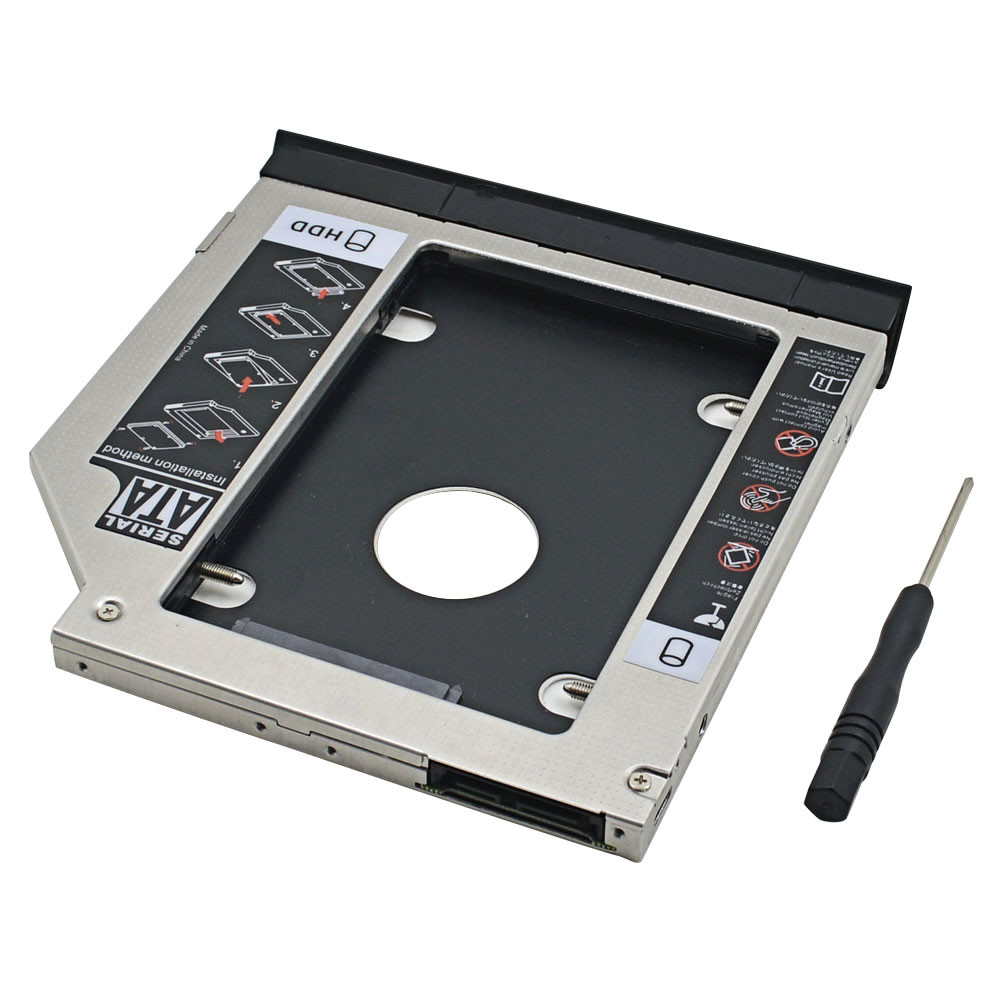
Remove HDD Caddy
#2. Pick up your Hard drive, and fix it into HDD Caddy. Push it a bit closer to the SATA port to make sure that SATA connector is fully connected to the Hard drive and put it one side for now.
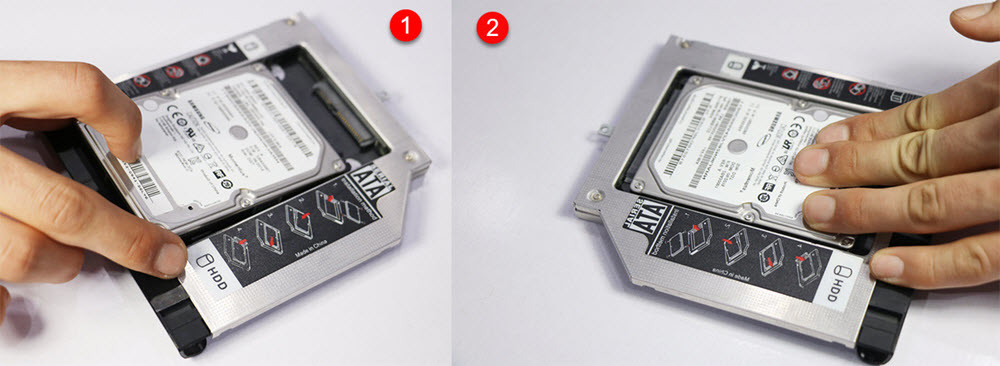
Fix hard drive to HDD Caddy
#3. Take an appropriate screwdriver for your system then flip your Laptop and remove the screw of your notebook’s DVD-ROM. One screw just plugs my one, and it’s too easy to open, but you might need to open the whole background of your system then find the CD/DVD Rom screws.

Take out the Screw
#4. When you took out the screw, then just pull out the DVD-ROM by pushing it outside of your laptop.

Pull out the CD-ROM
Now remove the cover from the CD/DVD Rom. Also, get off the HDD Caddy cover, and it’s recommended to set this protection to your CD/DVD Rom to prevent it from easily damaging.

Change Cover
Also, you have to Set the cover of DVD Rom to HDD Caddy.

Change HDD Caddy Cover
#4. Now Place the HDD Caddy instead of DVD Rom.

Add Extra Hard Disk to the Laptop
Don’t forget to screw the nut back to the place and make it secure from falling. So it’s time to check if the second drive that installed is working or not. Just Power on your system and log in to your Windows. Right-click on Windows icon or press Windows Button + X on your keyboard and select Disk Management.

Disk Management
Now you can see that here it shows two Hard Disks, Disk 0 which is 232.87 GB SSD and Disk 1 which I installed just now is 1 TB (Terabyte) HDD. It was my file storage, and now it’s on my laptop two hard drives in a single laptop.

Install Two Hard Drives on single Laptop
Watch the Video Tutorial
Conclusion
It is the best way to set or install two hard drives on single laptop. If you know a better way of installing an extra hard disk to your notebook so feel free to hit a comment down below, and we will create the step by step guide plus the video tutorial. Thanks for being with us.